


This service is only available in the US.
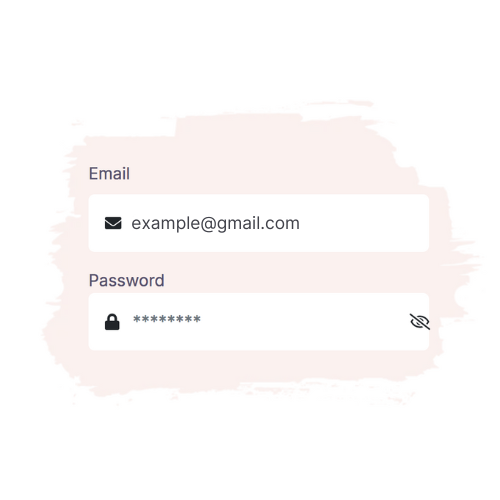
Click on Sign Up and enter your name, email address, and a password. Make sure you use an email address you have access to as this is where important messages will be sent.
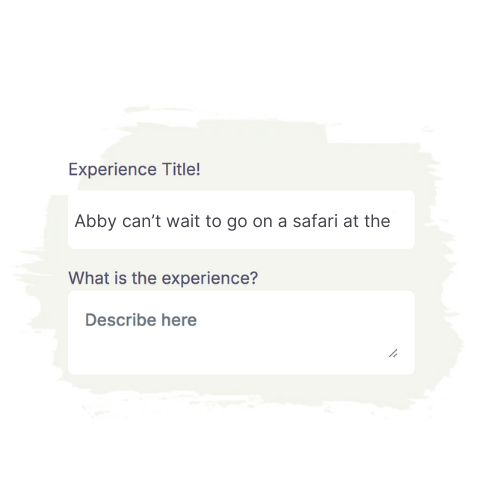
Next, you will add a cover photo. The photo should be clear and bright and must be in JPEG or PNG format.
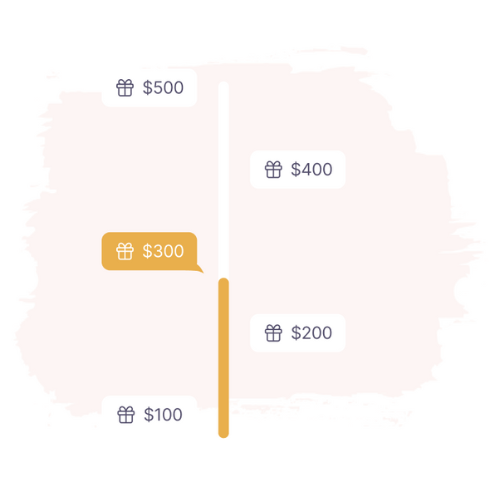
Under the Gift Money tab in your dashboard, click on the Connect to Stripe button. Enter details with our trusted third party service to transfer the funds to your account. This must be completed before you can begin to receive contributions.
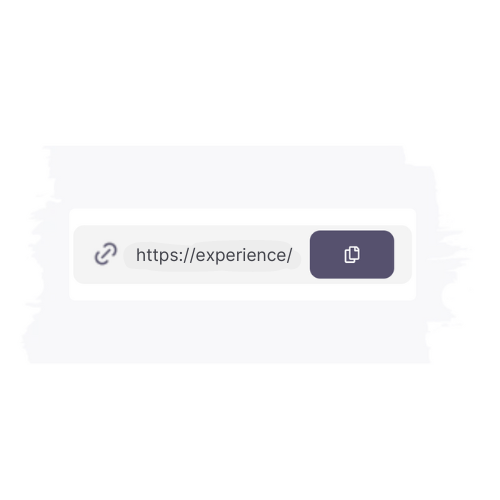
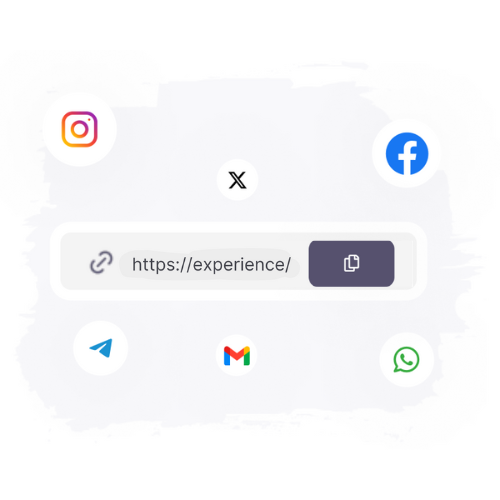
Copy the unique link and share it with friends and family through social media, text, email, or invitations so they can contribute to the gift experience.
Live the experience and take photos!

After you confirm your account, you will enter the New Experience page in your Dashboard. Here, you will enter simple details including who the experience is for, why they chose the experience, and the expected date of the experience.
Set your gift request goal amount. Your goal amount should reflect how much you’re looking to raise. When setting your goal, keep in mind there will be a transaction and service fee per contribution (4.5%+5%), so you may want to set your goal slightly higher than what you need. Keep in mind: You will receive your funds even if you do not reach your goal and you will continue to receive contributions even after you’ve reach your goal. Contributions will only stop once an experience has expired.
*A small transaction and service fee are applied to ensure we can continue providing you with high-quality service and a secure platform. The transaction fee covers the cost of the payment processing charges and the platform fee maintains the functioning of the website.
Preview the Experience page by clicking on the Preview Experience button. Here, you will have the option to edit, save, or go live. Once you’re ready, click on Go Live! Going live will generate a shareable link for your page which means your page is ready to receive contributions.
Keep track of all contributions under your Gift Money tab in your dashboard. Once the experience has ended, log into your Stripe account to withdraw the funds.

Post some of the photos to the After the Experience tab in your Dashboard and click submit. This shares the photos with the gifters so they can see the joy of their contribution!
Click on Sign Up and enter your name, email address, and a password. Make sure you use an email address you have access to as this is where important messages will be sent.

After you confirm your account, you will enter the New Experience page in your Dashboard. Here, you will enter simple details including who the experience is for, why they chose the experience, and the expected date of the experience.

Next, you will add a cover photo. The photo should be clear and bright and must be in JPEG or PNG format.
Set your gift request goal amount. Your goal amount should reflect how much you’re looking to raise. When setting your goal, keep in mind there will be a transaction and service fee per contribution (4.5%+5%), so you may want to set your goal slightly higher than what you need. Keep in mind: You will receive your funds even if you do not reach your goal and you will continue to receive contributions even after you’ve reach your goal. Contributions will only stop once an experience has expired.
*A small transaction and service fee are applied to ensure we can continue providing you with high-quality service and a secure platform. The transaction fee covers the cost of the payment processing charges and the platform fee maintains the functioning of the website.

Under the Gift Money tab in your dashboard, click on the Connect to Stripe button. Enter details with our trusted third party service to transfer the funds to your account. This must be completed before you can begin to receive contributions.

Preview the Experience page by clicking on the Preview Experience button. Here, you will have the option to edit, save, or go live. Once you’re ready, click on Go Live! Going live will generate a shareable link for your page which means your page is ready to receive contributions.
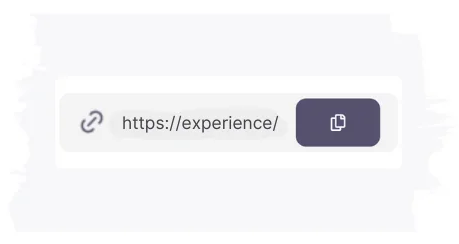
Copy the unique link and share it with friends and family through social media, text, email, or invitations so they can contribute to the gift experience.

Keep track of all contributions under your Gift Money tab in your dashboard. Once the experience has ended, log into your Stripe account to withdraw the funds.

Live the experience and take photos!

Post some of the photos to the After the Experience tab in your Dashboard and click submit. This shares the photos with the gifters so they can see the joy of their contribution!


